

Most Whirlpool side-by-side ice maker problems stem from water, temperature, or mechanical faults.
I’ve spent years fixing refrigerators and guiding owners through Whirlpool Side By Side Ice Maker Troubleshooting. This guide breaks down how these ice makers work, why they fail, and clear steps you can take to find and fix issues safely. Read on to get practical tips, quick tests, part checks, and real-world advice to get your ice flowing again.

How a Whirlpool Side By Side Ice Maker Works
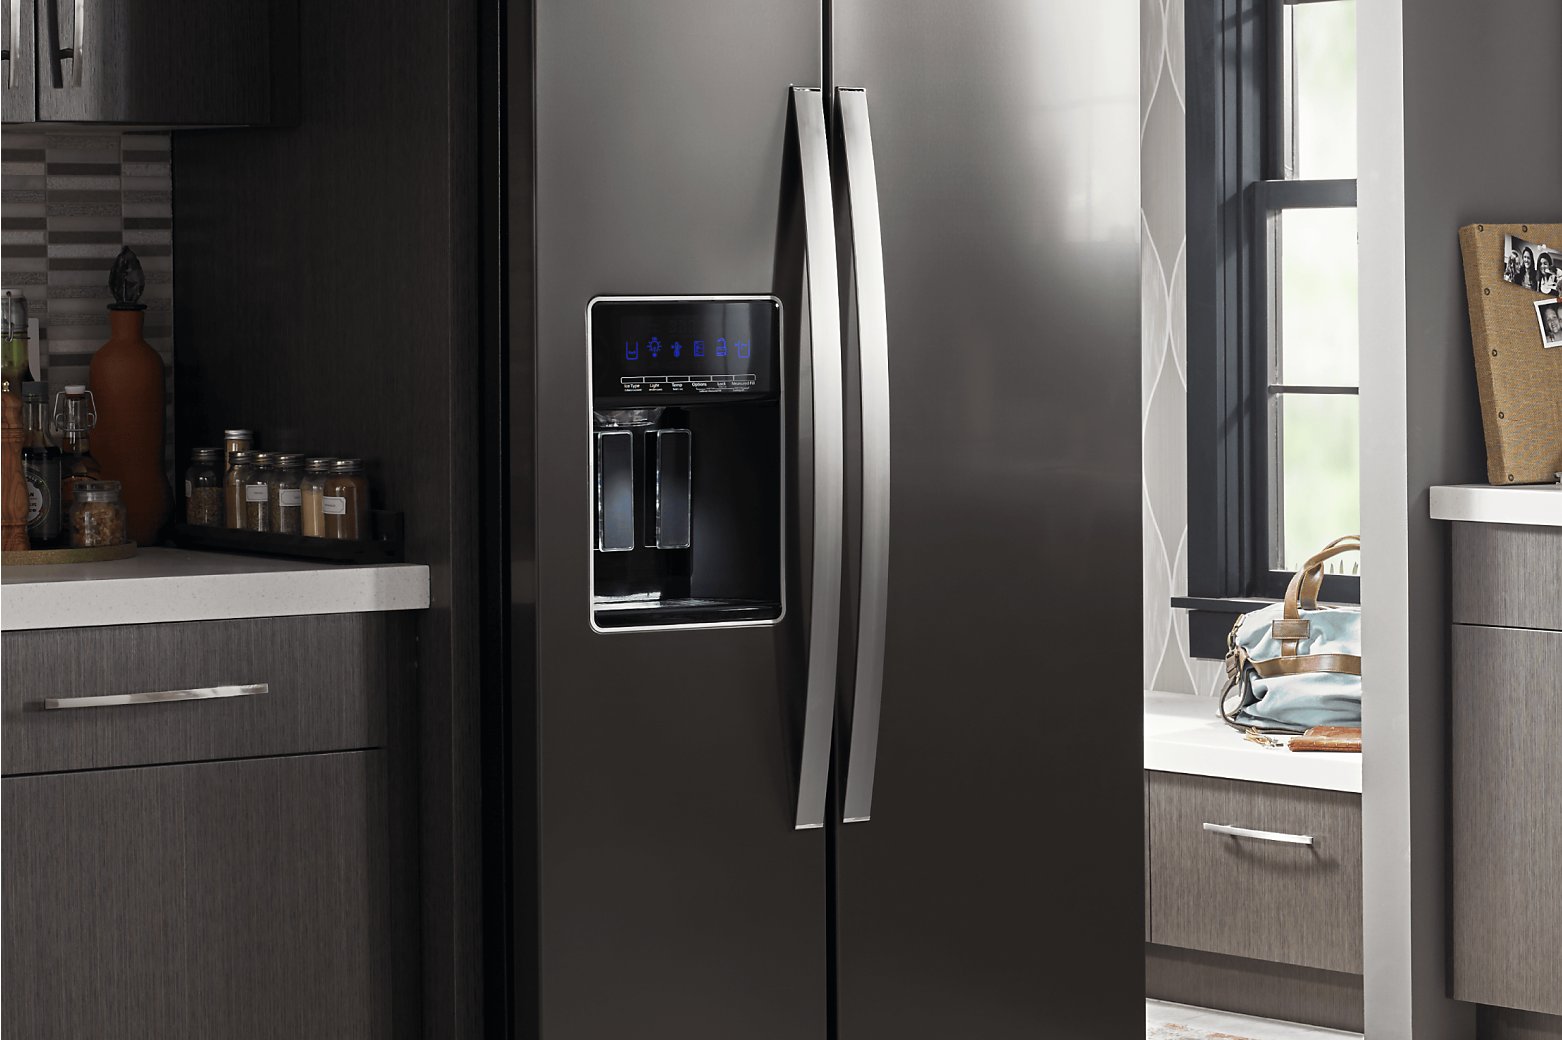
A Whirlpool side-by-side ice maker turns water into ice automatically. Water flows from the house line through a valve. The ice maker fills a mold and freezes it. An ejector arm or motor harvests the cubes into the bin. A thermostat or sensor tells the unit when to cycle. Knowing these parts makes Whirlpool Side By Side Ice Maker Troubleshooting easier.
Key components to know
- Water inlet valve — allows water into the ice mold.
- Fill tube or water line — delivers water to the mold.
- Ice mold and thermostat — shape and sense temperature.
- Ejector motor or harvest mechanism — pushes ice into the bin.
- Control module and switches — manage timing and user commands.
Common design notes
- Side-by-side models use a separate ice bucket inside the freezer door or compartment.
- Many failures trace back to water supply, temperature, or small mechanical parts.
- Knowing part names helps when ordering replacements or reading manuals.

Common Problems and Causes
Here are the most frequent scenarios you’ll see during Whirlpool Side By Side Ice Maker Troubleshooting. Each problem lists likely causes so you can narrow the fix.
No ice production
- Cause: Water supply off, clogged line, failed inlet valve, or broken ice maker motor.
- Quick check: Make sure water is on and the water filter is not clogged.
Small or hollow ice cubes
- Cause: Low freezer temperature, slow water flow, or partial fill due to pressure issues.
- Quick check: Set freezer to recommended temp and inspect the fill tube.
Ice maker won’t eject ice
- Cause: Broken ejector motor, jammed arm, or bad control module.
- Quick check: Manually inspect the ejector and bin for jams.
Ice tastes or smells bad
- Cause: Dirty ice bin, old filter, or stagnant water line.
- Quick check: Replace filter and clean the bin.
Water leaking or puddles
- Cause: Cracked water line, bad valve, or blocked drain.
- Quick check: Inspect lines and valve for visible damage.
No water to dispenser or slow flow
- Cause: Frozen water line, clogged filter, or failing inlet valve.
- Quick check: Check and replace the filter; thaw frozen lines if present.

Step-by-Step Whirlpool Side By Side Ice Maker Troubleshooting
Follow these steps in order. They are safe, quick, and often solve common issues.
- Check power and settings
- Confirm the fridge is plugged in and running.
- Verify ice maker is switched on and not in a "hold" mode.
- Confirm freezer temperature
- Ideal freezer temp is 0°F (-18°C). Adjust if warmer.
- Warmer temps slow ice formation and cause small cubes.
- Inspect the water supply
- Ensure the house valve to the fridge is open.
- Look for kinks or visible damage in the supply line.
- Replace the water filter
- A clogged filter reduces flow. Replace per manufacturer schedule.
- After replacing, run water through dispenser to clear air.
- Check the water inlet valve
- Listen for a click when the ice maker requests fill.
- If no water flows but valve is powered, replace the valve.
- Test the fill tube and water line
- Ensure the fill tube isn’t frozen. Warm gently if needed.
- Clear any blockages or sediment.
- Manually cycle the ice maker
- Use the test button or follow manual steps to force a harvest.
- If the unit cycles, observe for abnormal noises or timing.
- Inspect the ice bin and ejector
- Remove and look for jams or hardened ice clumps.
- Clean the bin and ensure the ejector moves freely.
- Check the thermostat/thermistor
- Use a multimeter to test continuity if comfortable.
- Replace if it shows open or erratic readings.
- Reset the ice maker or control board
- Unplug the fridge for 5 minutes or follow reset steps in the manual.
- Some control faults clear with a reset.
- Call a technician
- If tests show electrical failure or sealed-system problems, call a pro.
Each step narrows causes during Whirlpool Side By Side Ice Maker Troubleshooting. Keep notes on what you test. That helps professionals if you escalate the repair.

How to Test and Replace Parts Safely
Basic tests can confirm failing parts. Use simple tools: flashlight, wrench, multimeter, and a towel.
Testing tips
- Water inlet valve: Listen for a click during fill. Use a multimeter to check coil resistance.
- Ejector motor: Manually turn the motor shaft if accessible. If stuck or silent when powered, it may need replacing.
- Thermistor/thermostat: Measure resistance at known temps. Use fridge data for expected values.
- Control module: Visual inspection for burn marks. Replace if other parts check out and cycles fail.
Replacement basics
- Always disconnect power before servicing.
- Use OEM parts or high-quality aftermarket ones.
- Keep the model and serial number handy when ordering parts.
- Follow the service manual or step-by-step video guides for your exact model.
Safety and tips
- If you smell gas, see coolant leaks, or hear hissing, stop and call a certified tech.
- Avoid using metal tools near electrical connectors.
- Photos during disassembly help reassembly.
Maintenance Tips to Prevent Ice Maker Problems
Regular care keeps your ice maker working. These steps save time and money in Whirlpool Side By Side Ice Maker Troubleshooting later.
Simple maintenance routine
- Replace the water filter every 6 months or per demand.
- Clean the ice bin and mold every 3 months.
- Keep the freezer at 0°F. Check with an appliance thermometer.
- Flush the water line after filter changes to clear air and debris.
Seasonal and long-term care
- If leaving for long trips, turn off water supply and drain lines.
- Defrost and deep clean if ice builds up on the mold or inside the bin.
- Inspect supply lines annually for wear and replace as needed.
Small habits that help
- Use a water softener if you have very hard water.
- Run a sanitizing cycle or use a mild vinegar rinse for smells.
- Keep the area behind the fridge dust-free to ensure good airflow and cooling.
When to Call a Pro and Warranty Tips
Some problems need trained help. Know when to stop and call a technician.
When to call a pro
- Electrical faults, control board failures, or sealed-system issues.
- Major leaks or refrigerant-related noises.
- When diagnostics show parts that require specialty tools.
Warranty and parts
- Check your warranty before replacing major parts. You might be covered.
- Keep receipts and service records. They help warranty claims.
- Get quotes for labor and parts. Ask for part numbers and return policies.
Cost expectations
- Small parts like filters are low cost. Valves and motors are mid-range.
- Labor can vary. Certified repair often costs more but adds safety and warranty.

Personal Experience and Common Mistakes
I once fixed a side-by-side where the owner replaced the entire ice maker without checking the water valve. The valve was the real issue. A simple valve swap would have saved time and money.
Lessons I learned
- Always start with the water supply and filter.
- Use the model number to find the right part.
- Document each step. It helps if you call a pro later.
Common mistakes to avoid
- Replacing expensive parts before testing them.
- Ignoring the freezer temperature.
- Skipping safety steps like unplugging the fridge.
Frequently Asked Questions of Whirlpool Side By Side Ice Maker Troubleshooting
What is the first thing I should check when my ice maker stops making ice?
Check that the ice maker is turned on, the freezer temperature is 0°F, and the water supply valve is open. These are the most common and easy fixes.
Why are my ice cubes small or hollow?
Small or hollow cubes usually mean the mold is not filling completely or the freezer is too warm. Replace the filter, check water flow, and confirm temperature settings.
How do I know if the water inlet valve is bad?
Listen for a click during fill cycles and test the valve coil with a multimeter for continuity. If it clicks but no water flows, the valve is likely clogged or faulty.
Can I clean the ice maker myself?
Yes. Remove the ice bin, wash it with mild soap, and clean the mold area with warm water or a mild vinegar solution. Avoid harsh chemicals and always power off first.
How long should ice take to form?
At 0°F, a standard ice maker typically forms ice in 2 to 4 hours per cycle. Slower cycles often point to temperature, water flow, or mechanical issues.
Is it okay to use aftermarket parts for repairs?
Aftermarket parts can work but choose high-quality items and match part numbers. OEM parts often offer better fit and reliability.
When is it time to call a technician?
Call a tech for electrical control failures, refrigerant leaks, or when diagnostics require special tools. If multiple parts test bad, professional help is wise.
Conclusion
Whirlpool Side By Side Ice Maker Troubleshooting starts with simple checks: power, water supply, filter, and freezer temperature. Work step-by-step and test before replacing parts. Use safe practices and call a professional when needed. Take action today by checking the basics in your fridge. If this guide helped, leave a comment or subscribe for more appliance repair tips.
