


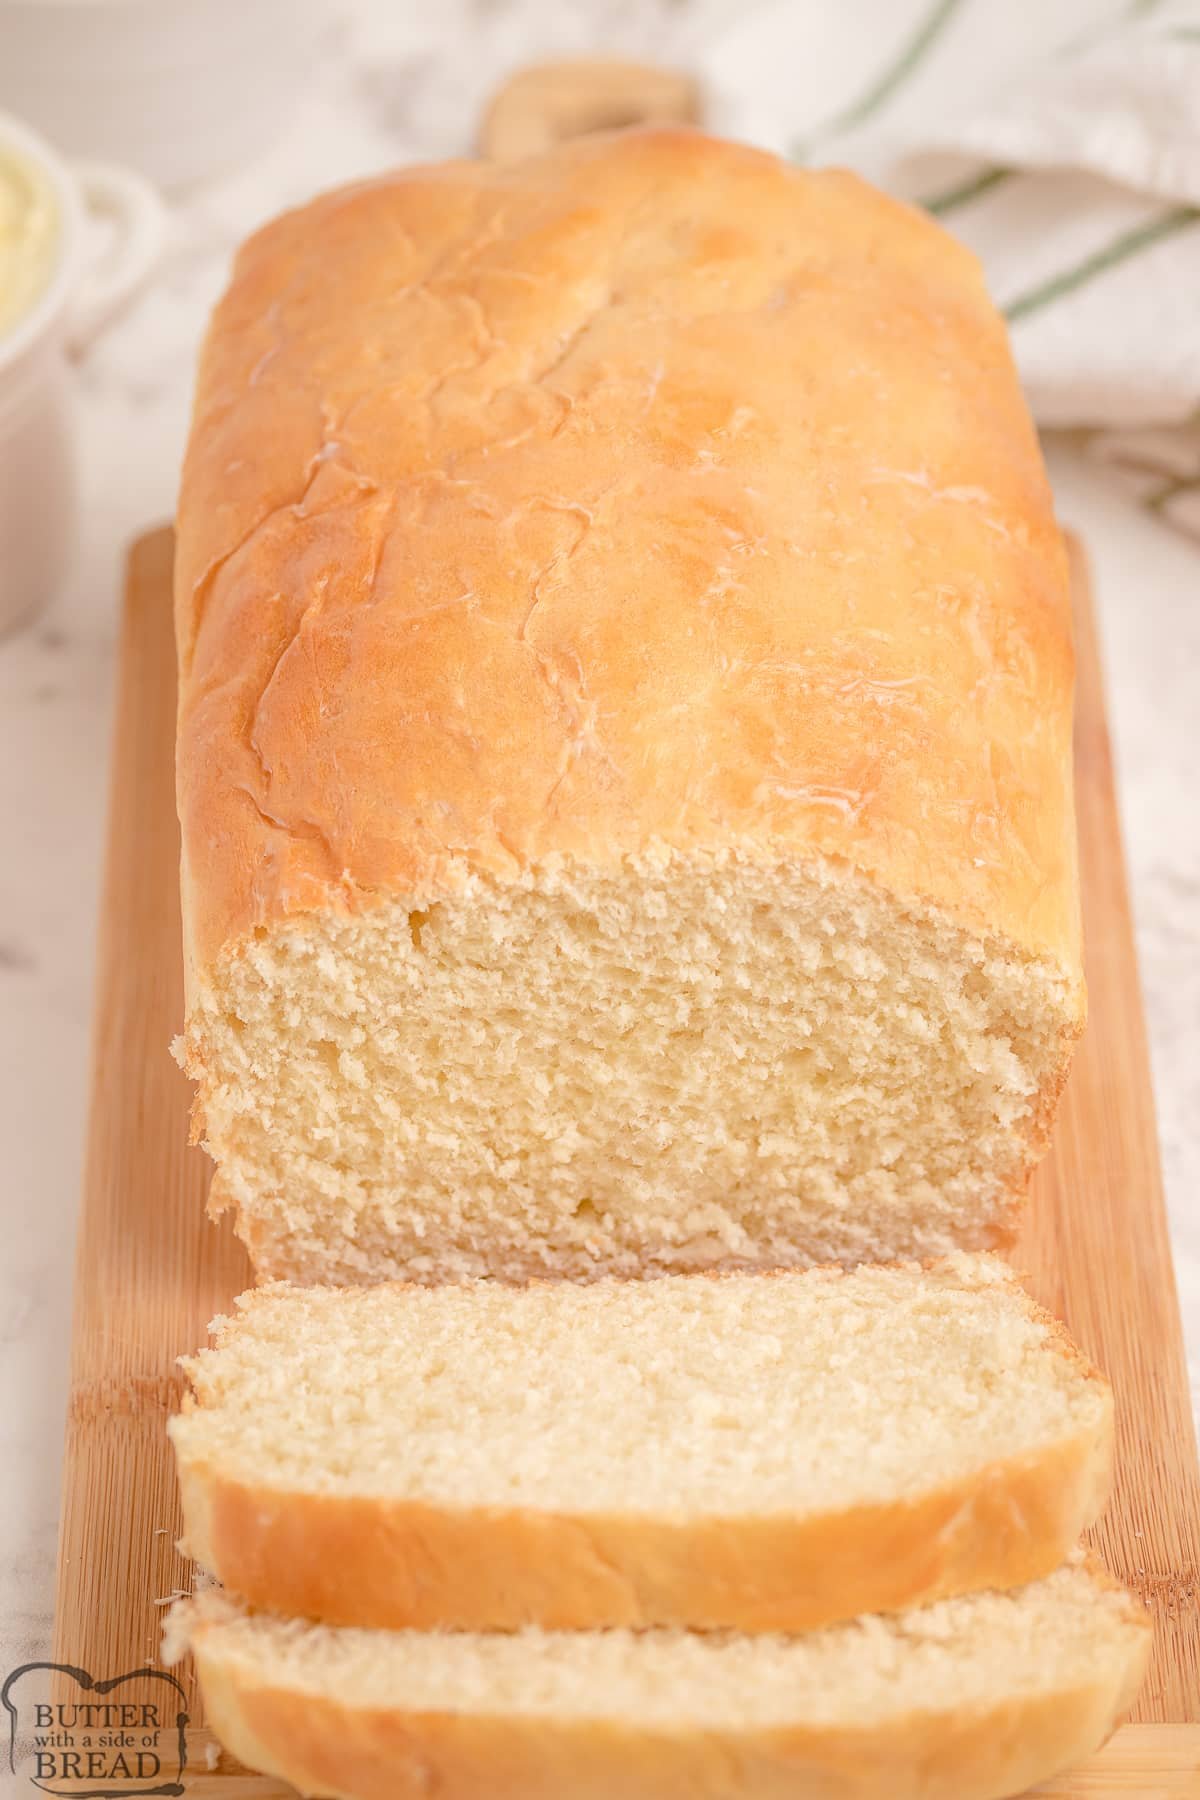
Imagine the warm smell of fresh bread filling your kitchen, made by your own hands without any fancy gadgets. You don’t need a mixer or special skills to create a soft, delicious loaf that everyone will love.
This easy homemade bread recipe without a mixer is perfect for you if you want simple steps, fewer ingredients, and that unbeatable homemade taste. Keep reading, and you’ll discover how effortless it is to make bread that looks and tastes like it came from a bakery—right in your own home.
Your next favorite baking adventure starts here!
Ingredients Needed
Preparing homemade bread without a mixer is simple. The ingredients are basic and easy to find. Each one plays a key role in making soft, fresh bread. You need just a few staples from your pantry.
Flour
Use all-purpose flour for the best texture. It gives the bread a soft crumb and nice rise. You can also try bread flour for a chewier loaf.
Yeast
Active dry yeast helps the dough rise. It creates air bubbles that make bread light. Make sure the yeast is fresh and not expired.
Warm Water
Warm water activates the yeast quickly. The temperature should be between 100°F to 110°F (38°C to 43°C). Too hot water can kill the yeast.
Sugar
Sugar feeds the yeast and adds slight sweetness. It also helps the bread brown nicely while baking. Use white or brown sugar based on preference.
Salt
Salt enhances flavor and controls yeast growth. It keeps the dough from rising too fast. Use it sparingly for balanced taste.
Oil Or Butter
Oil or melted butter adds moisture and softness. It keeps bread fresh longer. Choose your favorite type for richer flavor.
Choosing The Right Flour
Choosing the right flour is key to baking good bread without a mixer. Flour affects the texture, taste, and rise of your bread. Different flours have different protein levels. This protein helps form gluten, which gives bread its structure.
Using the correct flour makes the dough easier to handle by hand. It also helps the bread bake evenly and taste fresh. Knowing which flour to choose can improve your homemade bread greatly.
Types Of Flour For Homemade Bread
All-purpose flour is common and easy to find. It works well for soft bread with a light crumb. Bread flour has more protein. It creates strong gluten for chewy, stretchy dough. Whole wheat flour adds fiber and a nutty taste. It makes bread denser but healthy.
How Protein Content Affects Bread
Higher protein means more gluten and firmer bread. Lower protein gives softer, crumbly bread. Bread flour usually has 12-14% protein. All-purpose flour has about 10-12%. Whole wheat varies but often high in protein. Choose based on the bread texture you want.
Tips For Mixing Different Flours
Mixing flours can balance taste and texture. Try half bread flour and half whole wheat for soft, healthy bread. Adjust water amounts if you use more whole wheat. It absorbs more liquid. Experiment with small batches to find your favorite mix.
Preparing The Dough By Hand
Preparing the dough by hand is a simple and rewarding step in making homemade bread. It connects you with the process and helps you feel the texture changes. This hands-on method requires only basic tools and ingredients.
The key is to be patient and gentle with your dough. You do not need a mixer to create soft, elastic dough. Just follow easy steps to mix, knead, and adjust your dough until it feels just right.
Mixing Ingredients
Start by combining flour, yeast, salt, and water in a large bowl. Use a spoon or your hand to bring ingredients together. Mix until all flour is wet and a rough dough forms. Avoid over-mixing at this stage.
Make sure yeast is evenly spread. This helps the dough rise well later. The mixture should be sticky but hold together.
Kneading Techniques
Turn the dough onto a clean, floured surface. Use the heel of your hand to push the dough away. Fold it back over itself and repeat. This action develops gluten, giving bread its texture.
Knead for about 8 to 10 minutes. Stop if dough feels smooth and elastic. Avoid adding too much flour during kneading. A slightly tacky dough is normal and good.
Adjusting Dough Consistency
Check the dough’s feel often. It should be soft but not sticky. Add a little flour if it sticks too much to your hands. Add small amounts of water if too dry or crumbly.
Correct consistency helps dough rise and bake well. You want dough that springs back when pressed gently. This means the gluten is ready for shaping and rising.
First Rise Tips
Start by mixing warm water, yeast, and sugar to activate the yeast. Let the dough rest in a warm spot until it doubles in size. This simple first rise helps create soft, fluffy bread without any special tools.
Creating The Perfect Warm Environment
The first rise needs a warm place for the dough to grow. Ideal temperature is about 75°F to 85°F. A cozy spot helps the yeast activate fast. Try placing the dough in a turned-off oven with the light on. Another option is near a sunny window or on top of a fridge.
Covering The Dough Properly
Keep the dough covered to stop it from drying out. Use a clean kitchen towel or plastic wrap. Make sure the cover is loose to let gases escape. This keeps the dough soft and moist during rising.
Checking Dough Rise Time
First rise usually takes 1 to 2 hours. Dough should double in size. Check it by gently pressing with a finger. If the indentation stays, the dough is ready. If it springs back, give it more time to rise.
Avoiding Common Mistakes
Do not rush the rise by using too much yeast. This affects taste and texture. Avoid cold spots and drafts that slow rising. Do not let dough rise too long; it can overproof and collapse.
Shaping The Bread
Shaping the bread dough is a fun and important step in baking homemade bread. It gives your bread its final look and helps it bake evenly. After the dough has risen, gently press out the air and form it into the shape you want. Keep your hands light and avoid squeezing too hard. This keeps the dough soft and airy inside.
Common Shapes
Simple shapes work best for beginners. A round ball shape is easy and looks nice. You can also make a loaf shape by rolling the dough into a log. For dinner rolls, divide the dough into small balls. Braiding the dough creates a pretty pattern but needs more skill. Choose shapes that fit your baking pan or tray.
Preventing Sticking
Stickiness can ruin your bread’s shape. Lightly dust your work surface with flour before shaping. Sprinkle a bit of flour on your hands too. Use parchment paper or a silicone mat to keep dough from sticking to the tray. Avoid using too much flour, or the bread can become dry. Keep dough moist but easy to handle.
Second Rise And Proofing
The second rise and proofing are key steps in making soft, fluffy bread. This stage helps the dough develop its shape and texture. It allows the yeast to work again, creating tiny air bubbles that make the bread light. Skipping this step results in dense bread with a tight crumb.
Patience is important here. Letting the dough rise properly improves the flavor and the bread’s final look. The dough should almost double in size during this time. This means the yeast is active and the dough is ready to bake.
How To Prepare For The Second Rise
After shaping your dough, place it on a baking tray or in a loaf pan. Cover it with a clean, damp cloth or plastic wrap. This keeps the dough moist and stops it from drying out. Set it in a warm, draft-free place for rising.
Ideal Time And Temperature For Proofing
Proofing usually takes 30 to 60 minutes. The dough should double in size. Keep the temperature between 75°F and 85°F (24°C to 29°C). Cooler temperatures slow the rise, while too much heat can kill the yeast.
How To Tell When The Dough Is Ready
Gently press your finger into the dough. If the indentation stays and does not spring back quickly, it is ready. If the dough springs back fast, it needs more time. Avoid letting it overproof, or it may collapse in the oven.
Baking Without A Mixer
Baking bread without a mixer is simple and satisfying. You can make soft, fresh bread using just your hands and basic tools. This method connects you to the traditional way of baking. It also saves space and money on kitchen gadgets.
The secret to great bread without a mixer lies in patience and technique. Kneading by hand helps develop the dough’s texture. It gives you control over the dough’s feel and consistency. Let’s explore how to bake bread perfectly without a mixer.
Oven Temperature And Timing
Set your oven temperature to 375°F (190°C) for even baking. This heat level helps the bread cook inside and brown outside. Preheat the oven for at least 15 minutes before baking.
Bake the bread for 25 to 30 minutes. Check the crust color; it should be golden brown. Tap the bottom of the loaf—if it sounds hollow, the bread is done.
Cool the bread on a wire rack for 20 minutes. This step stops the cooking process and keeps the bread soft inside.
Using Alternative Baking Methods
You can bake bread without a traditional oven. A heavy pot with a lid works well as a mini oven. Place the dough inside the pot and cover it. Bake over low heat on the stove for 30 to 40 minutes.
Another option is to use a slow cooker. Line it with parchment paper and place the dough inside. Cook on high for 2 to 3 hours until the bread rises and turns golden.
These methods give you fresh bread without an oven. They are perfect for small kitchens or outdoor cooking.
Cooling And Storing Bread
Cooling and storing bread properly helps keep it fresh and tasty. After baking, bread continues to cook inside. Cooling stops this process and sets the crumb structure. Proper storage prevents the bread from drying out or going moldy. Follow these simple steps to enjoy your homemade bread longer.
Cooling Bread On A Wire Rack
Remove bread from the pan immediately after baking. Place it on a wire rack to cool. This allows air to circulate around the bread. Air circulation prevents sogginess on the bottom. Cool the bread completely before slicing. Warm bread can become gummy when cut.
Best Ways To Store Homemade Bread
Store bread in a paper bag for short-term freshness. Paper bags keep the crust crisp while allowing breathability. For longer storage, use a plastic bag or airtight container. This keeps the bread soft but may soften the crust. Avoid storing bread in the fridge. Cold air dries bread faster.
Freezing Bread For Extended Storage
Slice bread before freezing for easy use later. Wrap slices tightly in plastic wrap or foil. Place wrapped bread in a freezer bag. Freeze for up to three months. To thaw, leave bread at room temperature or toast slices directly.
Troubleshooting Common Issues
Baking homemade bread without a mixer can sometimes lead to small problems. These issues may seem hard to fix. Yet, knowing common problems helps you bake better bread each time. Here are simple tips to solve frequent troubles.
Dense Bread
Dense bread often means the dough did not rise enough. Check your yeast for freshness. Warm water helps activate yeast well. Knead the dough longer to develop gluten. Avoid using too much flour, which makes bread heavy.
Flat Loaf
A flat loaf may happen if the dough is over-proofed. Watch the rising time carefully. Do not let dough rise in a very hot place. Punch down the dough gently after first rise. Shape it firmly before the second rise.
Uneven Texture
Uneven texture happens from uneven mixing or shaping. Mix ingredients thoroughly but gently. Make sure dough is smooth and elastic. Shape the dough evenly to avoid air pockets. Bake immediately after shaping for best results.
Variations And Add-ins
Making homemade bread without a mixer is simple and fun. You can change the taste and texture by adding different ingredients. These add-ins make your bread unique and tasty. They also bring new flavors and a fresh twist to a classic recipe.
Herbs And Spices
Fresh or dried herbs add a burst of flavor. Try rosemary, thyme, or oregano for an earthy taste. Garlic powder or onion flakes bring a savory note. A pinch of cinnamon or nutmeg gives a warm, sweet touch. Mix these herbs and spices into the dough before baking.
Seeds And Nuts
Seeds add crunch and nutrition to your bread. Sunflower, sesame, or pumpkin seeds work well. Chopped walnuts, almonds, or pecans add a nutty flavor. Toast nuts first for extra taste. Sprinkle seeds on top or mix them inside the dough.
Sweet And Savory Options
Sweet breads can have raisins, dried cranberries, or chopped dates. A swirl of honey or maple syrup adds natural sweetness. For savory, add olives, sun-dried tomatoes, or cheese cubes. These options make your bread perfect for any meal or snack.

Frequently Asked Questions
How Do I Make Bread Without A Mixer?
You can mix dough by hand using a sturdy bowl and wooden spoon. Knead on a floured surface until smooth and elastic. This method takes about 10 minutes and produces great homemade bread without electric tools.
What Ingredients Are Needed For Homemade Bread?
Basic ingredients include flour, water, yeast, salt, and sugar. Optional additions are oil or butter for softness. Using fresh ingredients ensures better flavor and texture in your homemade bread.
How Long Should I Knead Dough By Hand?
Knead the dough for about 8 to 10 minutes. This develops gluten, giving bread structure and chewiness. Stop kneading when the dough is smooth and springs back when pressed.
Can I Bake Bread Without A Stand Mixer?
Yes, baking bread without a stand mixer is easy. Hand kneading replaces the mixer’s function. It’s a traditional way that yields delicious bread and connects you to the baking process.
Conclusion
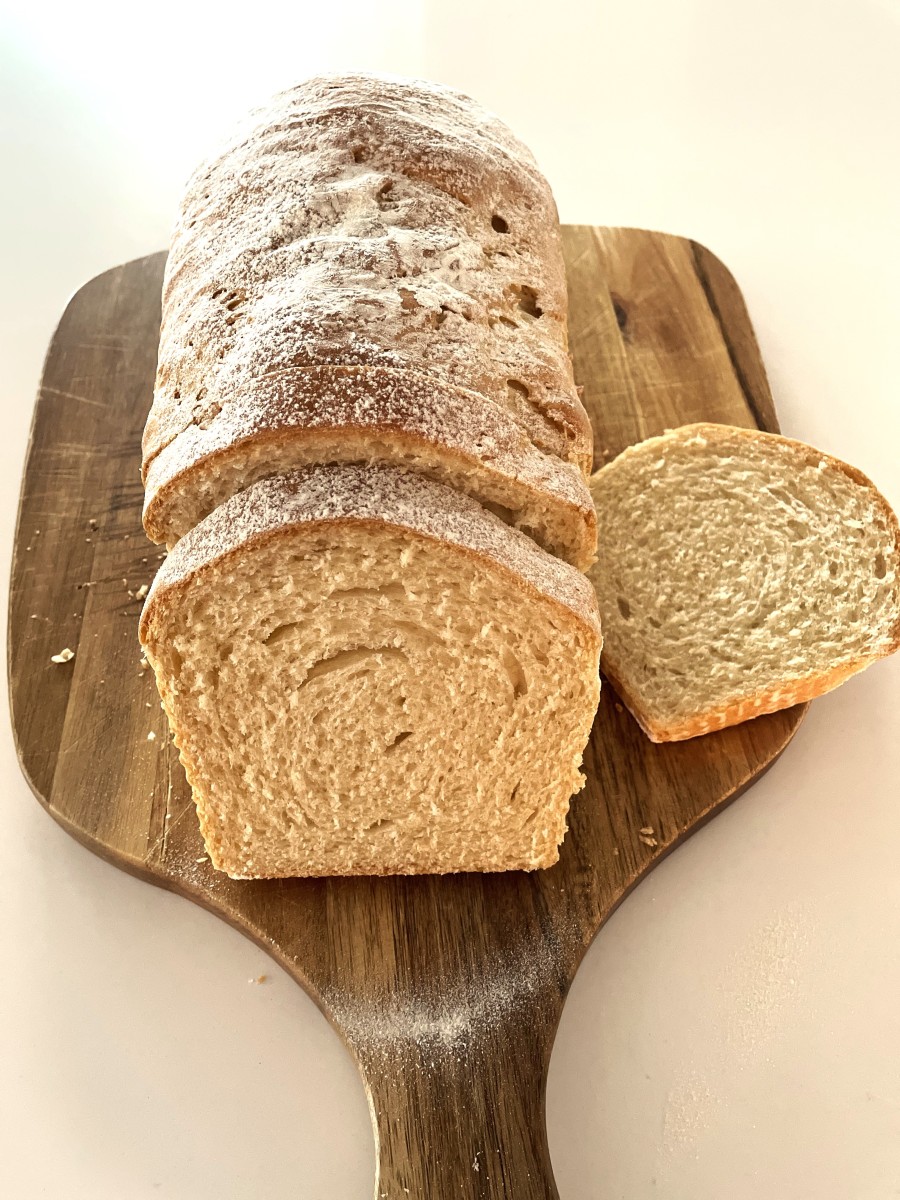
Baking bread at home is simple and fun without a mixer. Just follow the easy steps and enjoy fresh bread. This recipe uses basic ingredients anyone can find. Kneading by hand helps you connect with the dough. The smell of baking bread fills your home with warmth.
Serve it fresh with butter or your favorite spread. Homemade bread tastes better and feels more rewarding. Try this recipe today and enjoy the joy of baking. No special tools needed—just your hands and patience. Happy baking!
