


Are you tired of guessing if your meat is cooked just right? An inaccurate meat thermometer can ruin your meal and leave you worried about food safety.
But don’t worry—fixing this problem is easier than you think. You’ll discover simple steps to troubleshoot your meat thermometer and get reliable readings every time. Keep reading to make sure your next meal turns out perfectly cooked and safe to eat!

Common Causes Of Inaccurate Readings
Inaccurate meat thermometer readings cause confusion during cooking. Understanding the common causes helps fix the problem fast. Several factors can make the thermometer show wrong temperatures. These factors include calibration issues, battery problems, sensor damage, and environmental influences. Each one affects the device differently and needs a unique approach to solve.
Calibration Issues
Calibration is the process that keeps your thermometer accurate. Over time, the device can lose its calibration. This leads to readings that are too high or too low. Regular calibration checks help keep the thermometer reliable. Without it, cooking results may suffer and food safety risks increase.
Battery Problems
Weak or dead batteries often cause false readings. Low power can make the thermometer slow or unresponsive. Changing the batteries regularly ensures the thermometer works well. Check the battery contacts for dirt or corrosion. Clean contacts improve the power flow and device accuracy.
Sensor Damage
The sensor is the key part that measures temperature. Damage from drops or spills can affect its function. Bent or broken probes give wrong results. Handle the thermometer carefully during use and cleaning. Inspect the sensor for any signs of wear or damage.
Environmental Factors
External conditions can impact thermometer accuracy. Cold or hot air drafts near the probe affect the reading. Cooking surfaces that heat unevenly cause errors too. Avoid placing the thermometer near vents or open windows. Use it in stable environments for best results.
How To Calibrate Your Meat Thermometer
Calibrating your meat thermometer ensures it gives correct temperature readings. This step is important for safe cooking and perfect results. The process is simple and can be done with common household items. Below are three ways to calibrate your thermometer accurately.
Ice Water Method
Fill a glass with ice and add cold water. Stir and let it sit for a minute. Insert the thermometer probe into the ice water. Make sure it does not touch the sides or bottom of the glass. The thermometer should read 32°F (0°C). If it does not, adjust it if possible or note the difference for future use.
Boiling Water Method
Boil a pot of clean water. Carefully place the thermometer probe into the boiling water. Avoid touching the pot’s sides or bottom. The thermometer should show 212°F (100°C) at sea level. Adjust the thermometer or record the difference. Remember, boiling point changes with altitude. Check local boiling temperature for accuracy.
Adjusting Digital Thermometers
Most digital thermometers have a calibration button or dial. After testing in ice water or boiling water, press the calibration button. Follow the manufacturer’s instructions for fine-tuning. If your digital thermometer lacks a calibration feature, use the offset method. Note the difference and add or subtract it when reading temperatures.
Checking And Replacing Batteries
Checking and replacing the batteries in your meat thermometer is a simple step to fix accuracy issues. Many times, low power causes wrong temperature readings. Batteries lose energy over time, affecting your device’s performance. Keeping batteries fresh ensures reliable and safe cooking results.
Signs Of Low Battery
Watch for a dim or blank display screen. The thermometer may turn off unexpectedly. Temperature readings might jump or freeze. Slow response time can also indicate low battery. These signs mean your thermometer needs new batteries soon.
Step-by-step Battery Replacement
First, turn off the thermometer. Find the battery compartment, usually on the back. Open the compartment carefully, using a small tool if needed. Remove the old batteries and dispose of them properly. Insert new batteries, matching the correct size and polarity. Close the compartment securely. Turn on the thermometer and check the display. Test the accuracy by measuring a known temperature. Replace batteries regularly to avoid future problems.
Inspecting And Cleaning The Sensor
Inspecting and cleaning the sensor is a key step in fixing an inaccurate meat thermometer. Dirt, grease, and food particles can cover the sensor. This buildup blocks heat and causes wrong temperature readings. Regular cleaning keeps your thermometer working well.
Check the sensor carefully before cleaning. Look for any visible dirt or spots. Use a soft cloth or cotton swab for cleaning. Avoid harsh scrubbing that can harm the sensor.
Proper Cleaning Techniques
Start by wiping the sensor with a damp cloth. Use warm water and mild soap if needed. Gently rub the sensor to remove grease or food bits. Rinse the cloth and wipe again to clear soap. Dry the sensor with a clean, soft cloth. Never soak the thermometer in water. This can damage its internal parts.
Avoiding Sensor Damage
Handle the sensor with care during cleaning. Do not use abrasive materials like steel wool or rough brushes. Avoid strong chemicals or alcohol as they can harm the sensor coating. Do not bend or press the sensor hard. Store the thermometer in a safe place after use. Protect it from drops and impacts to keep the sensor intact.
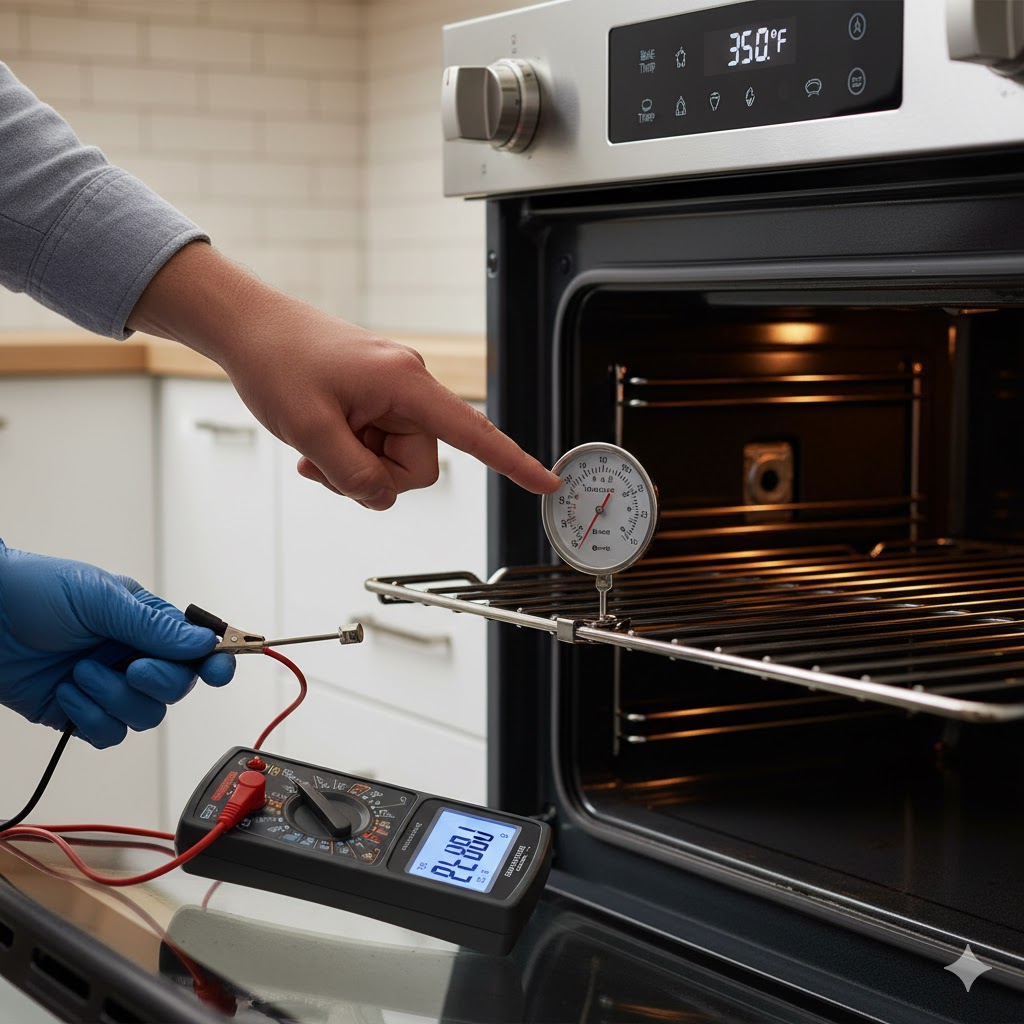
Testing Thermometer Accuracy
Testing your meat thermometer’s accuracy is key to cooking safe and tasty meals. An inaccurate thermometer can lead to undercooked or overcooked meat. Testing helps you know if your device shows the right temperature. It also guides you on what to do next.
Using Known Temperature References
One easy way to check accuracy is with ice water. Fill a glass with crushed ice and add cold water. Insert the thermometer probe into the ice water without touching the glass sides. The thermometer should read 32°F (0°C). If it shows a different number, your thermometer needs calibration or replacement.
Another test is boiling water. Heat water until it boils. Insert the thermometer probe carefully into the boiling water, avoiding the pot sides. The temperature should read around 212°F (100°C) at sea level. Variations occur with altitude, but large differences suggest inaccuracy.
Comparing With Other Thermometers
Use a second reliable thermometer to compare readings. Insert both probes into the same piece of meat or liquid. Check if their temperatures match or are close. Differences greater than a few degrees mean one thermometer may be faulty.
This comparison helps confirm whether your thermometer is off or if the reading was a one-time error. Regular testing keeps your cooking safe and your meat cooked just right.
Tips For Accurate Temperature Measurement
Getting the right temperature from your meat thermometer is key to safe and tasty meals. Small mistakes can cause wrong readings. Follow simple tips to improve accuracy and trust your thermometer.
Correct Insertion Techniques
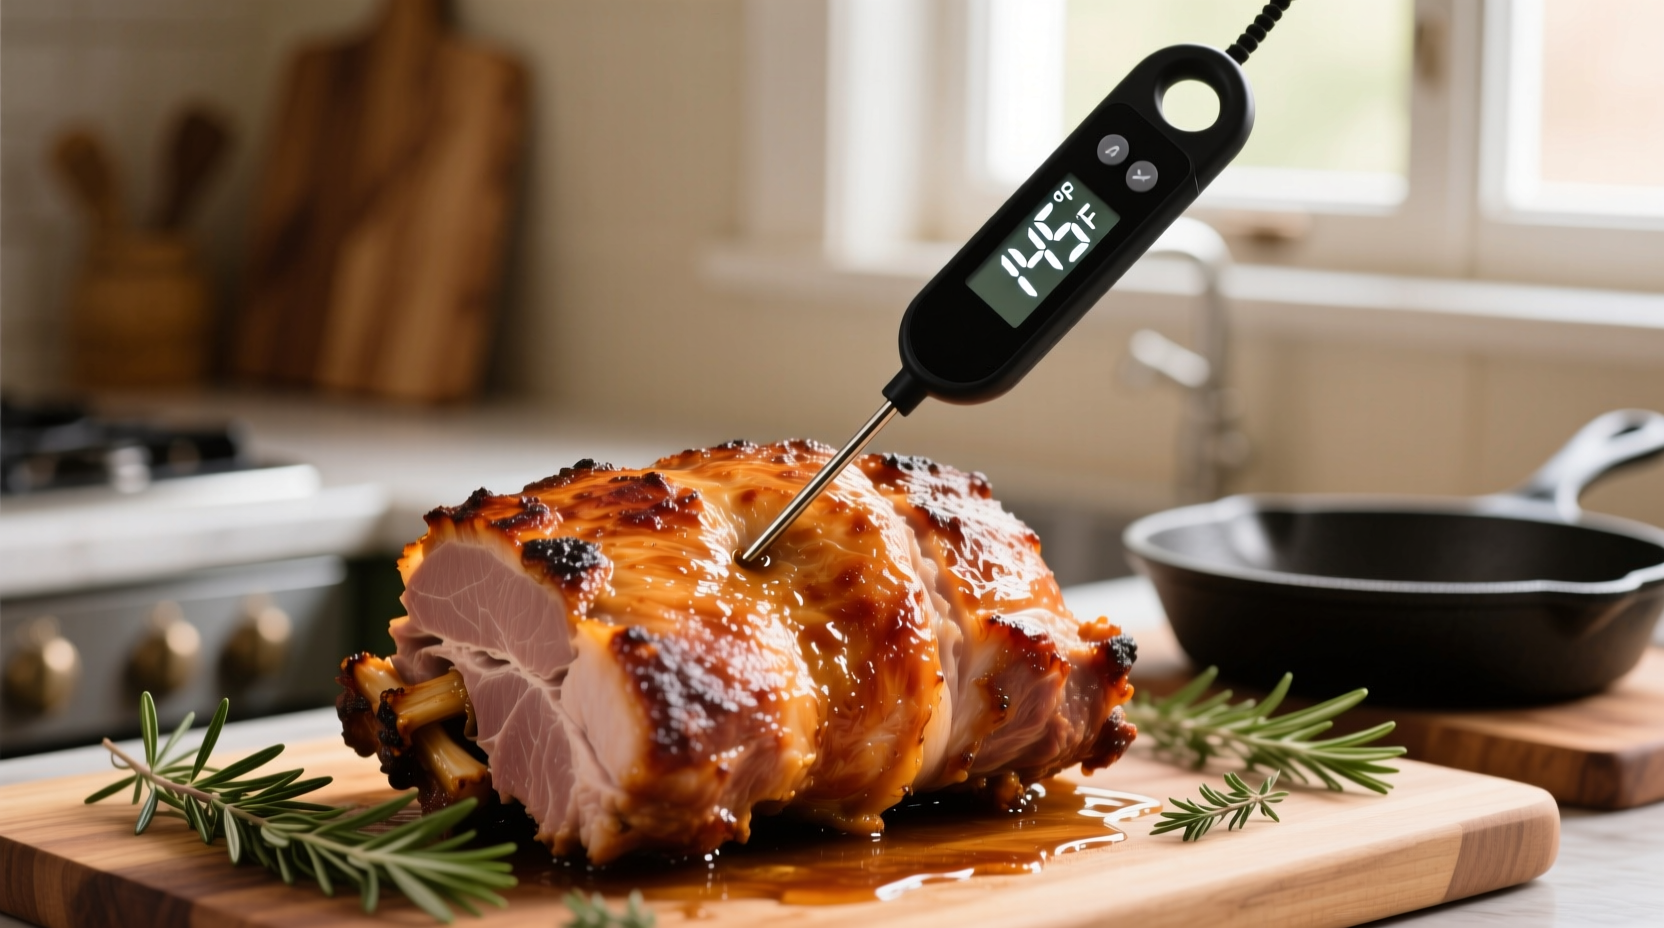
Insert the thermometer into the thickest part of the meat. Avoid touching bones or fat, as they give false readings. Push the probe straight in, not at an angle. Keep the tip in the center for best results.
Avoiding Heat Source Interference
Keep the thermometer away from flames or hot surfaces. Direct heat can make the reading too high. Check the temperature in the middle of the meat, away from the grill’s hot spots. This prevents inaccurate readings.
Allowing Adequate Reading Time
Wait a few seconds after inserting the thermometer. The temperature needs time to stabilize. Rushing can show a lower or higher number. Hold the probe steady until the reading stops changing.
When To Replace Your Meat Thermometer
Knowing when to replace your meat thermometer is key for safe cooking. A faulty thermometer can give wrong temperatures, risking undercooked or overcooked meat. Some issues with the device cannot be fixed. Recognizing these signs helps keep your meals safe and tasty.
Signs Of Permanent Malfunction
Check if the thermometer shows strange numbers or stays stuck. If the needle or digital screen does not move, it may be broken. Cracks in the probe or screen mean it might not work right. A thermometer that gives very different readings each time is not reliable. These problems usually mean the device cannot be repaired.
Choosing A Reliable Replacement
Pick a thermometer that is easy to read and fast. Look for models with good reviews and clear instructions. Waterproof and sturdy probes last longer and work well in many conditions. Digital thermometers often provide quicker and more accurate results. Choose a brand known for quality and accuracy to avoid future issues.
Frequently Asked Questions
How Do I Know If My Meat Thermometer Is Inaccurate?
If your thermometer shows inconsistent or unexpected temperatures, it may be inaccurate. Test it in boiling water (212°F). If it reads off by more than a few degrees, recalibrate or replace it for accurate cooking results.
How Can I Recalibrate A Meat Thermometer At Home?
To recalibrate, immerse the probe in ice water (32°F). Adjust the calibration nut until it reads 32°F. This simple step fixes minor inaccuracies and ensures your thermometer provides precise temperature readings.
Why Does My Meat Thermometer Give Different Readings Each Time?
Different readings often result from improper probe placement or battery issues. Insert the probe into the thickest meat part, avoiding bones. Also, check battery life and replace if needed to maintain consistent and accurate readings.
Can A Damaged Probe Cause Inaccurate Meat Temperature Readings?
Yes, a bent or damaged probe can affect accuracy. Inspect the probe for damage or corrosion. If damaged, replace the thermometer to avoid incorrect temperature readings and ensure food safety.
Conclusion
A meat thermometer should give accurate readings every time. Check the battery and clean the probe regularly. Calibrate it to ensure it shows the right temperature. Avoid leaving the thermometer in hot water for too long. Use it in the thickest part of the meat for best results.
Small steps make a big difference in cooking safety. Keep your thermometer working well for tasty, safe meals. Troubleshooting is simple with a little care and attention.
