

Most Kitchenaid undercounter ice maker problems come from water, temperature, or filter issues.
I have spent years repairing and troubleshooting kitchen appliances, and I know the quirks of Kitchenaid undercounter ice maker troubleshooting inside and out. This guide breaks down clear checks, step-by-step fixes, and easy maintenance tips so you can diagnose problems fast, save time, and avoid costly service calls. Read on to get reliable, experience-backed solutions for common failures, error codes, leaks, slow production, and more.

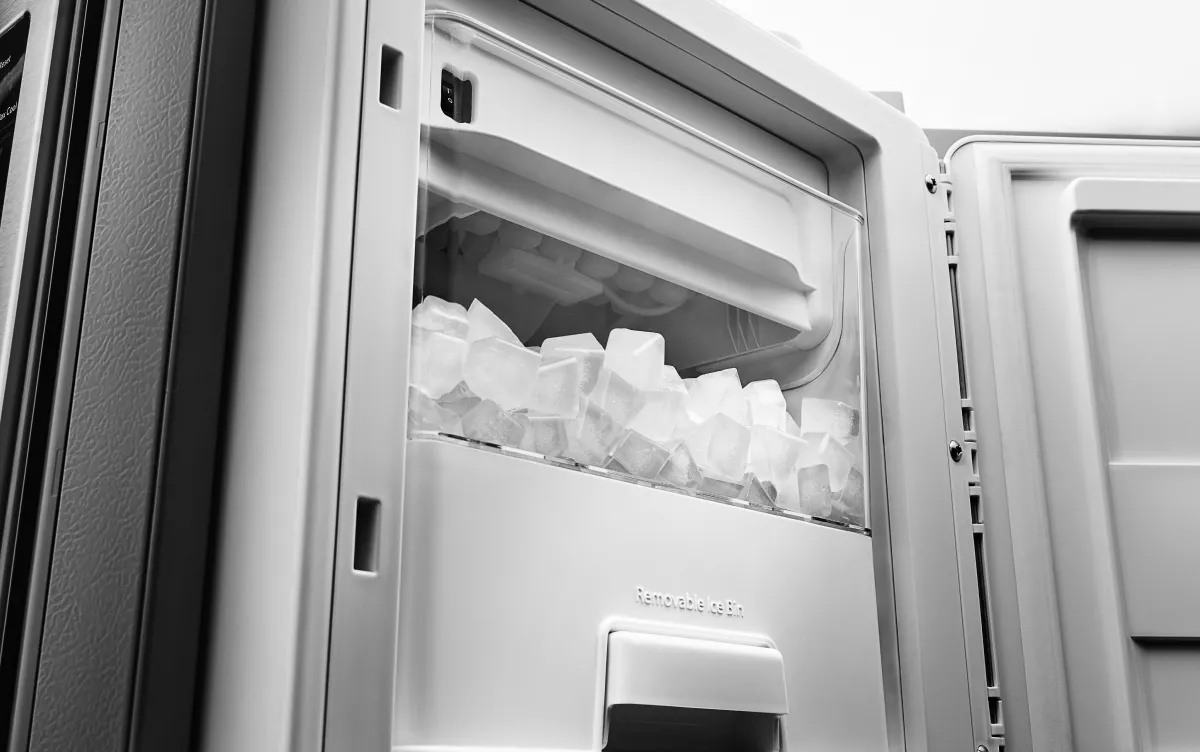
Common problems and quick diagnostics for Kitchenaid Undercounter Ice Maker Troubleshooting
Kitchenaid undercounter ice maker troubleshooting usually starts with simple checks. Look at power, water supply, and temperature first. These three items explain most failures.
Common problems
- Ice maker does not make ice. Check power and water line.
- Ice cubes are small, hollow, or cloudy. Check freezer temperature and water filter.
- Machine is noisy. Inspect fan, compressor, and loose parts.
- Leaks under the unit. Check drain, water line, and fittings.
- Slow production. Confirm water pressure, temperature, and scale buildup.
Quick diagnostics steps
- Verify unit has power. Unplug and plug back in to reset.
- Check water supply valve. Ensure it is fully open.
- Monitor temperature. Aim for 0 to 5°F (-18 to -15°C) in the enclosure.
- Inspect filter. Replace if older than 6 months or clogged.
Kitchenaid undercounter ice maker troubleshooting often resolves with these checks. Small actions fix most issues and stop downtime.

Step-by-step troubleshooting guide for Kitchenaid Undercounter Ice Maker Troubleshooting
Follow these steps in order. They are practical and easy to perform.
- Safety first
- Turn off power at the breaker or unplug the unit.
- Turn off the water supply to the ice maker.
- Reset and observe
- Power cycle the ice maker for 60 seconds.
- Listen for startup sounds and watch for error lights.
- Water supply check
- Inspect the water line for kinks or damage.
- Open the shutoff valve and check water flow.
- Filter and water quality
- Replace the inline water filter if present.
- Flush the line after installing a new filter.
- Temperature and environment
- Check room and cabinet temperatures.
- Ensure vents are not blocked and the unit has clearance.
- Test run
- Run a manual harvest or diagnostic cycle if available.
- Note cycle times and ice size.
If a step shows a clear fault, fix it and test again. For unclear faults, document symptoms for a technician.
Fixes for specific issues (practical solutions)
This section covers the most common failures and how to fix them. Each fix is concise and action-oriented.
Ice maker makes no ice
Causes
- No power, closed water valve, or a tripped control board.
Fixes
- Confirm power at the outlet and breaker.
- Open the water valve and clear any kinks.
- Replace a faulty water inlet valve if it does not open.
Personal tip: I once found a mouse-chewed water line behind a cabinet. Always inspect lines visually.
Small, hollow, or cloudy ice cubes
Causes
- Low water pressure, old filter, or high freezer temperature.
Fixes
- Replace the water filter and test pressure.
- Lower freezer temperature to the manufacturer’s range.
- Descale the evaporator if mineral buildup is present.
Water leaking from under unit
Causes
- Clogged drain, loose line fittings, or cracked tubing.
Fixes
- Clear the drain with warm water and a soft brush.
- Tighten or replace fittings with the correct size.
- Replace cracked tubing; use food-grade tubing only.
Noisy operation
Causes
- Loose fan blade, failing compressor, or ice stuck in tray.
Fixes
- Tighten mounting screws and clear ice from the ejector.
- Clean debris around the condenser fan.
- If compressor noise persists, schedule a pro repair.
Ice tastes or smells bad
Causes
- Old filter, stagnant water in lines, or dirty components.
Fixes
- Replace the filter and run two full cycles to flush.
- Clean the bin and interior with a mild solution of baking soda and water.
- Replace any charcoal or specialty filters if used.
Error codes and lights
Causes
- Vary by model; often indicate water faults, sensor errors, or communication issues.
Fixes
- Consult the unit’s diagnostic guide for code meanings.
- Reset the board, check sensor connections, and verify power.
- Replace the main control board only if diagnostics point to board failure.
Kitchenaid undercounter ice maker troubleshooting requires patience. Test after each fix to isolate the true cause.

Preventive maintenance and best practices for Kitchenaid Undercounter Ice Maker Troubleshooting
Regular care prevents 80% of service calls. Follow these simple habits.
Routine maintenance checklist
- Replace water filter every 6 months or per usage.
- Clean the ice bin monthly with warm water and baking soda.
- Inspect water supply tubing annually for wear or damage.
- Keep the surrounding cabinet and vents clear for airflow.
- Run a cleaning cycle or descale every 6–12 months in hard water areas.
Benefits of preventive care
- More consistent ice quality and faster production.
- Reduced risk of leaks and mechanical failure.
- Lower repair costs and longer unit life.
Real-life note: After adding a filter change reminder to my calendar, a client cut repair visits in half.

Parts, tools, and when to call a technician for Kitchenaid Undercounter Ice Maker Troubleshooting
Common replacement parts
- Water inlet valve
- Water filter cartridge
- Drain pump or tubing
- Evaporator assembly
- Control board or sensors
Simple tools to keep on hand
- Adjustable wrench and pliers
- Tubing cutter and food-grade tubing
- Multimeter to test power and continuity
- Soft brush and towels for cleaning
When to call a technician
- Electrical faults or repeated tripping breakers.
- Compressor failures or sealed system issues.
- Complex control board errors that persist after resets.
- Refrigerant leaks or major mechanical noise from the compressor.
Cost expectations and safety
- Filters and tubing are low cost and DIY-friendly.
- Control boards and sealed-system repairs are expensive. Hire a pro.
- Always disconnect power and water before repairs.
Kitchenaid undercounter ice maker troubleshooting is often DIY-friendly. But safety and sealed-system work should be left to licensed technicians.
Frequently Asked Questions of Kitchenaid Undercounter Ice Maker Troubleshooting
Why is my Kitchenaid undercounter ice maker not making ice?
Check power, water supply, and the water inlet valve first. Often the shutoff valve is closed or the filter is clogged.
How do I fix small or hollow ice cubes?
Replace the water filter and ensure the freezer temperature is at recommended levels. Low water pressure and scale cause hollow cubes.
How often should I clean the ice maker?
Clean the bin monthly and descale every 6–12 months. More frequent cleaning helps in hard water areas.
What does an error code on my Kitchenaid ice maker mean?
Error codes vary by model and point to water, sensor, or control issues. Consult the model’s manual for exact meanings and steps.
When should I replace the water filter?
Replace the filter every 6 months or sooner if you notice reduced flow or bad taste. Fresh filters improve ice taste and performance.
Can I install the water filter myself?
Yes, filter changes and simple tubing work are DIY-friendly. Turn off the water first and follow manufacturer instructions.
Conclusion
Kitchenaid undercounter ice maker troubleshooting is mostly about clear checks and regular care. Start with power, water, and temperature. Use simple fixes like replacing filters, clearing drains, and verifying valves. When a problem goes beyond basics, call a licensed technician to avoid damage.
Take action today: run the quick checks in this guide, set a maintenance schedule, and note any persistent symptoms for a pro. If this helped, leave a comment with your model and issue, and I’ll share targeted tips.
